Each organization in the global community of Crossref members (that’s currently over 24k organizations in 166 different countries) plays a key role in building the Research Nexus. Any opportunity we have to meet with our members in person is a highlight and a way for us to learn more from each other. The month of January saw three of us travel to Bangkok to attend the first-ever Charleston Conference organised in Asia and to meet with our growing community in Thailand.
This year, we placed a spotlight on the Latin American community, hosting the second Crossref Metadata Sprint in São Paulo, Brazil from 4 - 6 March 2026. In our first tri-lingual event, we brought together 31 participants from Argentina, Brazil, Colombia, Ecuador, and Mexico. Our goal was to foster community co-creation using the open scholarly metadata. The Sprint was an opportunity to pose questions, share ideas, collaborate on research, and propose innovative solutions that enhance the use of metadata in scholarly communication and beyond.
Read on for more details about the content of the Sprint, and the resulting projects. You can also register to join our Sprint Showcase call on 22nd April to hear directly from the team about their creations.
On 17 March 2026, we experienced an outage that affected DOI resolution for Crossref DOIs and the deposit of metadata records by Crossref members. In this summary, we outline what happened, the impact on our community, and the steps we are taking to strengthen our systems and processes as a result.
We’re excited to announce a new data citation API endpoint and are seeking your feedback. The new service makes existing data citation relationships in our metadata available, thereby surfacing this part of the research nexus. At the same time, we’ve decided that it’s time to move on from Event Data.
Setting up your iThenticate v1 account (admins only)
Documentation Menu
Setting up your iThenticate v1 account (admins only)
This section is for Similarity Check account administrators using iThenticate v1. You need to follow the steps in this section before you start to set up your users and share the account with your colleagues.
If you are using iThenticate 2.0 rather than iThenticate v1, there are separate instructions for you.
Not sure if you’re using iThenticate v1 or iThenticate 2.0? More here.
Your personal administrator account in iThenticate v1
Once Turnitin has enabled iThenticate v1 for your organisation, the main editorial contact provided on your application form will become the iThenticate account administrator. As an administrator, you create and manage the users on your account, and you decide how your organisation uses the iThenticate tool.
To start with, you need to login to iThenticate and set your password.
Log in to your administrator account (v1)
Start from the link in the invitation email from noreply@ithenticate.com with the subject line “Account Created” and click Login
Enter your username and single-use password
Click to agree to the terms of the end-user license agreement. These terms govern your personal use of the service. They’re separate from the central Similarity Check service agreement that your organisation has agreed to.
You will be prompted to choose a new password
Click Change Password to save.
How do you know if you’re an account administrator?
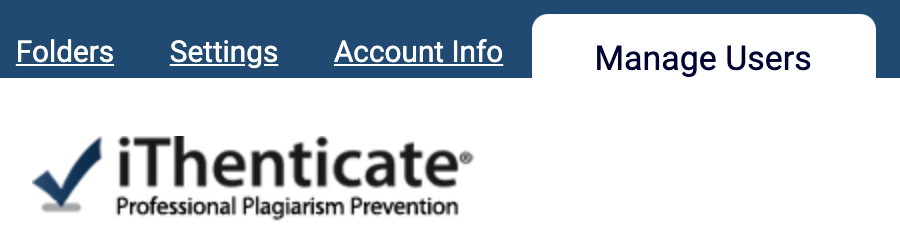
Once you’ve logged in, you will only be able to see the Manage Users tab if you’re an account administrator.
So if you can’t see Manage Users or Users, you’re not an account administrator, and you can skip ahead to the user instructions for iThenticate v1.
Updating your personal email address or password
Changing your email address or updating your password is the same for admins and other users. There’s more information in the user instructions for iThenticate v1.
Page maintainer: Kathleen Luschek Last updated: 2022-July-15