Research is rarely limited to a single contributor performing a single role. Behind every research output are people contributing in various ways: software development, data analyses, methodology design, and much more. Often, the same person contributes in several of these ways. Until now, Crossref metadata could only capture part of that picture, but this is changing with Schema 5.5.
Through user experience research (UXR) initiatives that take into account our diverse membership and community, we can have a continuous, deeper understanding of the role of metadata in our members’ workflows, and ensure that our work continues to meet our community’s needs. Your support is the key to this process, and will positively impact the wider community - and if you’d like to start today, you can take part in our latest initiative: help us improve our Events page by sharing your thoughts on the page’s feedback form.
Our 2026 Community Update took place on 13 May. Two calls, one for the eastern and one for the western time zone, highlighted how our global community is growing, how we’re refining the metadata that supports trust in the scholarly record, and connecting records more effectively through our latest tools.
Funding is one of the key enablers of the research lifecycle, but has been one of the hardest parts of the scholarly record to identify, describe and connect. This is slowly changing as we have recently reached a very exciting milestone for Crossref’s Grant Linking System (GLS). What makes it remarkable is not only the numbers reached, but where the data comes from. Research funders, who joined Crossref as members, have actively contributed more than 200,000 grants to the Research Nexus (Figure 1).
Setting up your iThenticate 2.0 account for use directly in the browser (admins only)
Documentation Menu
Setting up your iThenticate 2.0 account for use directly in the browser (admins only)
This section is for Similarity Check account administrators only. It explains how administrators need to set up the iThenticate 2.0 account for their organisations if they are planning to use iThenticate in the browser. You need to follow the steps in this section before you start to set up your users and share the account with your colleagues.
If you are using iThenticate v1 rather than iThenticate 2.0, take a look at the section for v1 account administrators.
If you intend to access iThenticate 2.0 through an integration with your Manuscript Submission System (MTS) instead, go to setting up your MTS integration.
Your personal administrator account in iThenticate 2.0
Once Turnitin has enabled iThenticate 2.0 for your organisation, the main editorial contact provided on your application form will become the iThenticate account administrator.
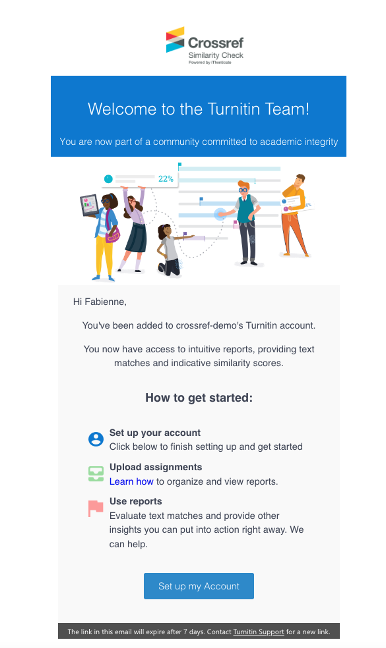
You will receive an email from Turnitin with a link to set your credentials. The email will look like this:
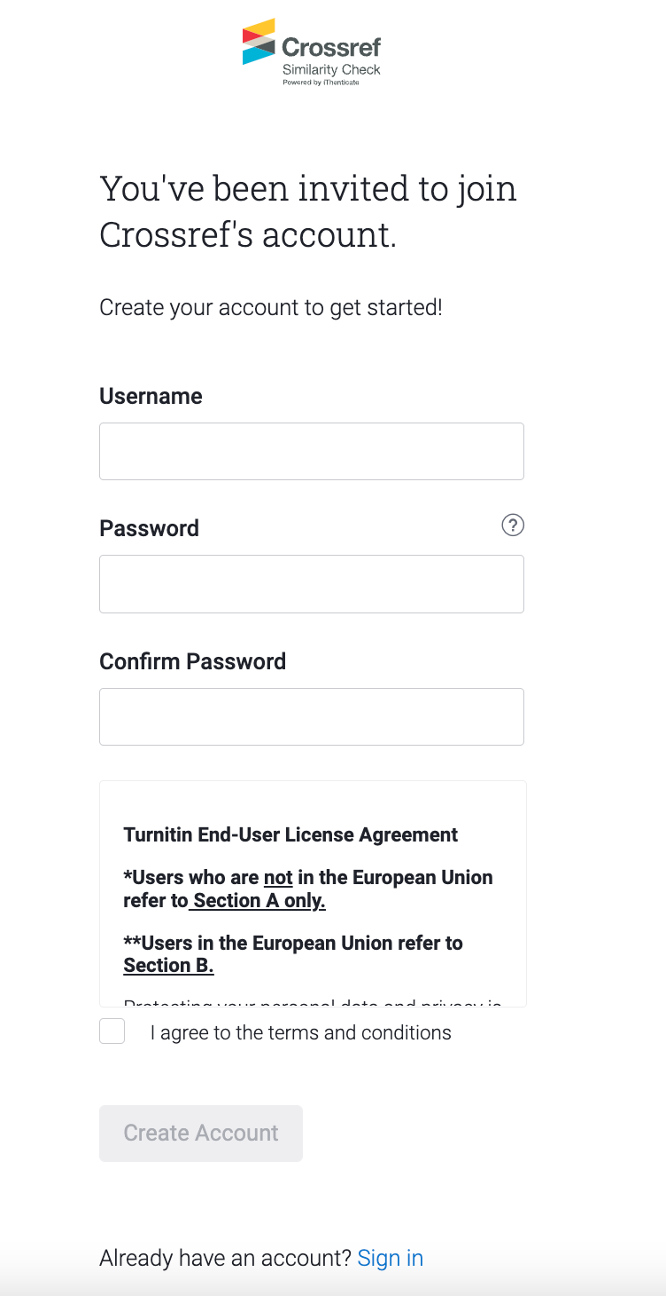
Click on the blue ‘Set up my account’ button at the bottom of the email. This will bring you to a page which looks something like this:
Fill out your username and password, and don’t forget to tick to agree to the terms and conditions. You will then arrive at your new iThenticate 2.0 account.
How do you know if you’re an account administrator?
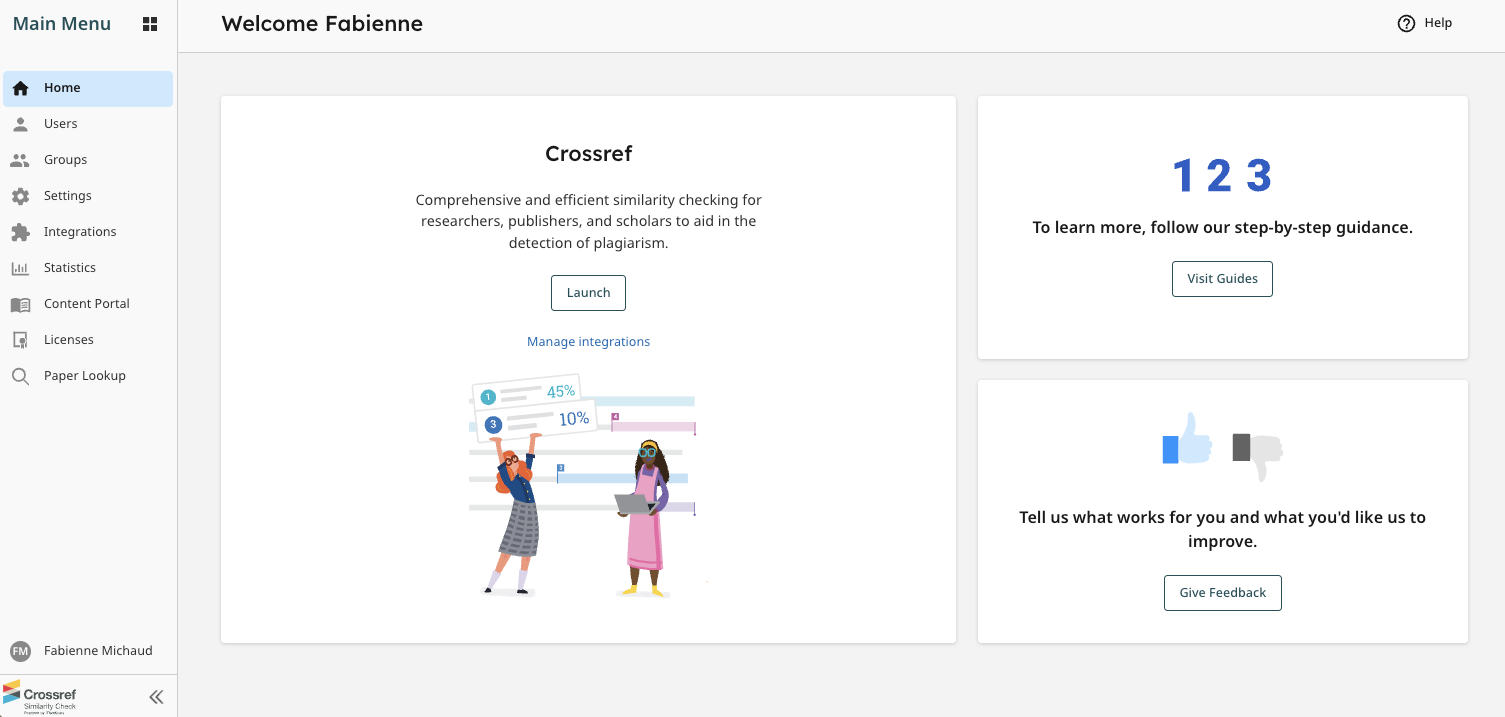
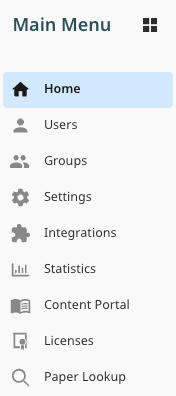
When you are logged in to iThenticate, what tabs can you see?
If you’re using iThenticate 2.0, you will only be able to see Users on the menu if you’re an account administrator.
So if you can’t see Manage Users or Users, you’re not an account administrator, and you can just read the user instructions for iThenticate 2.0 on the Turnitin website.
Updating your email address, username or password in the future
If you need to change your personal email address, username or password in the future, you can find instructions on the Turnitin website.
If you forgot your password and have never signed into your new 2.0 account, you’ll need to reach out directly to Turnitin’s support to have your password resent to you from Turnitin.
If you’ve already signed into your 2.0 account, but can’t remember your password, you can simply use the Forgot Password link on the login screen of your unique 2.0 website (https://crossref-xxx.turnitin.com, with xxx being your member ID).
Page maintainer: Amanda Bartell Last updated: 2022-July-15